
 Bookmark
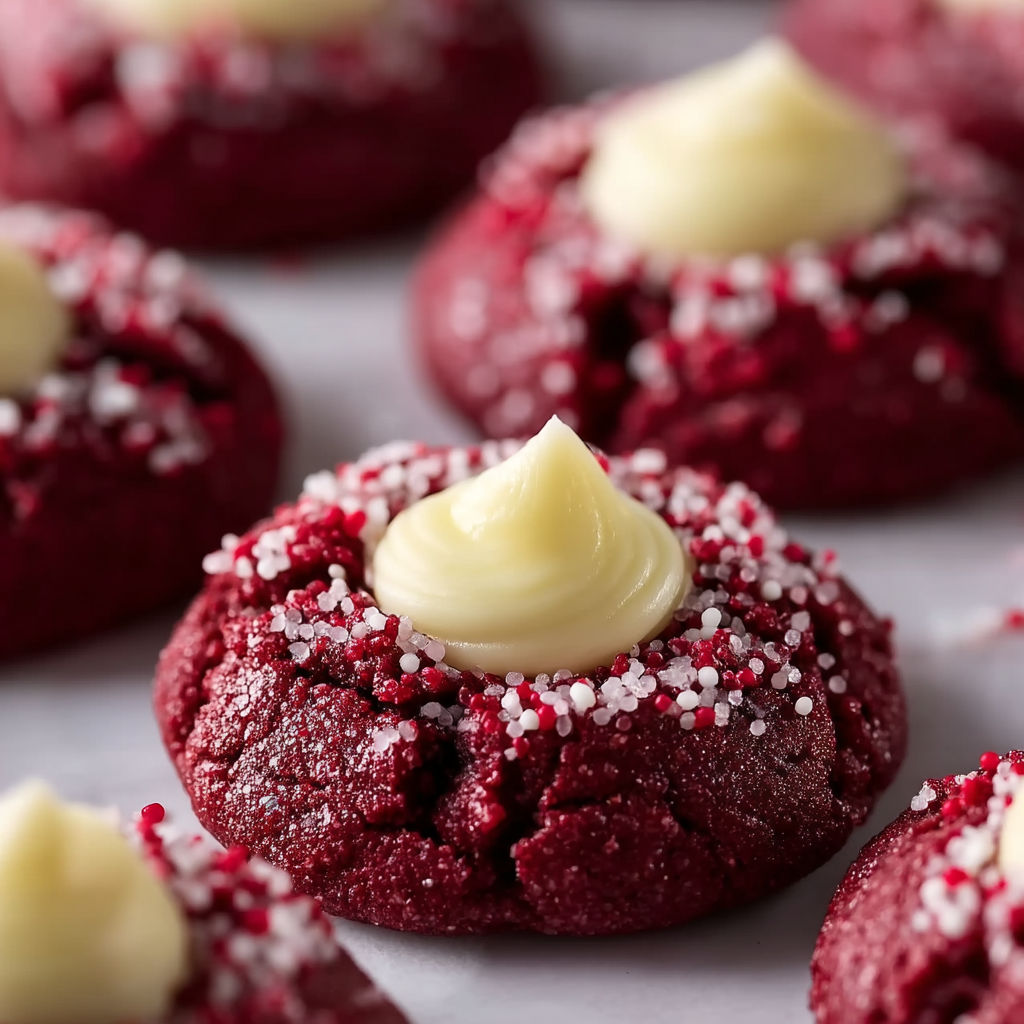
These red velvet thumbprint cookies bring together tender cocoa infused dough and a creamy, tangy cream cheese filling creating a festive treat that will impress at any gathering. The dough's vibrant red color contrasts beautifully with the smooth white cream cheese center, offering a satisfying flavor and texture combo. This recipe is perfect when you want to share something special that looks as good as it tastes.
I first made these cookies for a holiday gathering and they disappeared so quickly that they have become a seasonal favorite in my household
Ingredients
- Allpurpose flour: provides structure and tenderness use fresh flour for a soft crumb
- Unsweetened cocoa powder: adds a subtle chocolate note deepening the red velvet flavor
- Baking powder: helps the cookies rise slightly preventing them from becoming dense
- Kosher salt: balances sweetness enhancing overall flavor opt for good quality salt
- Salted butter: at room temperature gives creamy texture and fuller flavor
- Light brown sugar: adds moisture with a hint of caramel flavor
- Granulated sugar: contributes sweetness creating a slight crispness on the cookie surface
- Large egg: binds ingredients and adds richness
- Vanilla extract: enhances all flavors pure extract is preferred
- Red gel food coloring: offers vibrant red color without changing dough texture
- Cream cheese: at room temperature ensures smooth, fluffy frosting
- Powdered sugar: sweetens and thickens the cream cheese filling for perfect spreading
Instructions
- Whisk the dry ingredients together:
- Combine allpurpose flour, cocoa powder, baking powder, and kosher salt in a medium bowl Mix thoroughly to distribute the ingredients evenly then set aside
- Cream the butter and sugars:
- In a large bowl use a mixer on medium speed to beat the salted butter, granulated sugar, and light brown sugar until the mixture becomes light in color and fluffy This usually takes three to five minutes Scrape down the sides as needed to keep the mixture even
- Incorporate the egg, vanilla, and food coloring:
- Add the egg and vanilla extract to the butter and sugar mixture Mix well until fully combined Then add the red gel food coloring beating steadily until the dough is evenly tinted a vibrant red
- Add the dry ingredients:
- Reduce the mixer speed to low Gradually add the flour mixture into the wet ingredients Mix just until combined to avoid overworking the dough
- Chill the dough:
- Cover the bowl and refrigerate the dough for about 20 minutes until it firms up This step makes rolling and shaping much easier
- Preheat oven and prepare baking sheets:
- Set the oven to 350 degrees Fahrenheit Line two baking sheets with parchment paper to prevent sticking and promote even baking
- Shape and sugar coat the dough balls:
- Scoop tablespoon sized portions of dough Roll each portion into a ball Then roll each ball in granulated sugar coating completely Arrange the balls on the baking sheets two inches apart
- Create thumbprint indentations and chill again:
- Press the center of each dough ball gently with your thumb creating a well for the filling Refrigerate the shaped cookies until firm about 20 minutes
- Bake the cookies:
- Bake for 12 to 14 minutes Rotating the pans halfway through for even baking Bake until the bottoms turn light golden brown and the cookies are set
- Cool the cookies:
- Let the cookies rest on the baking sheets for five minutes before transferring to wire racks to cool completely
- Prepare and add the cream cheese filling:
- Beat the cream cheese and powdered sugar in a large bowl using a mixer on medium speed until smooth and creamy Then fill each thumbprint indentation with roughly a teaspoon of the frosting Use a piping bag or spoon for precision
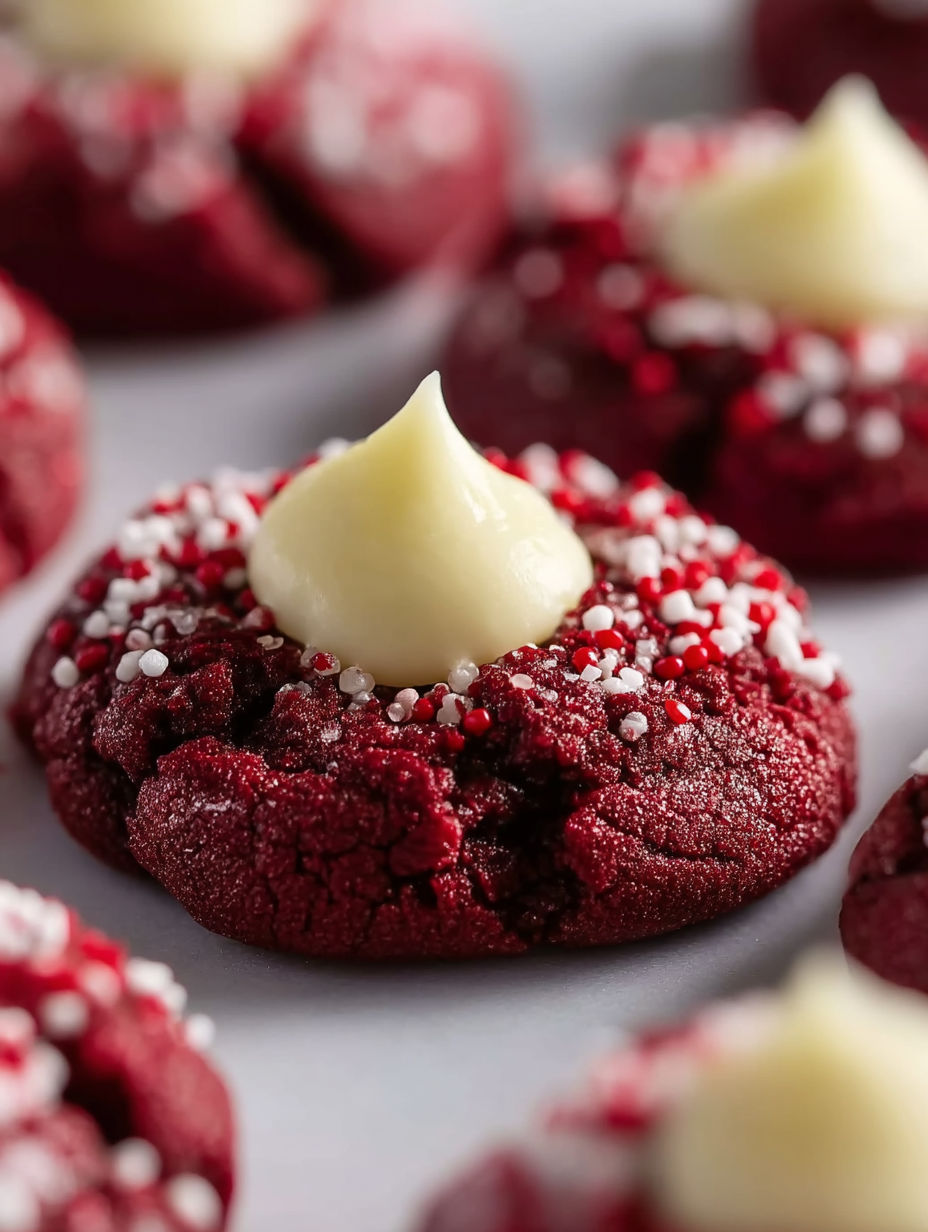
I love the cream cheese filling because its tanginess balances the cocoa and sugar sweetness perfectly The thumbprint cavity creates a surprise center giving each bite an enjoyable contrast in texture and flavor
Storage Tips
Store these cookies in an airtight container at room temperature for up to three days Keep the cream cheese filling refrigerated separately for the best freshness You can freeze baked cookies without the filling for up to two months Wrap tightly in plastic wrap then place in a freezer safe container To serve simply thaw at room temperature and fill with the frosting as usual
Ingredient Substitutions
Use pastry flour for a more tender cookie but expect a slightly lighter texture Substitute salted butter with unsalted butter reducing the salt slightly to maintain balance For a natural red color try beet powder or juice though this may change moisture content Cream cheese can be swapped with mascarpone for a creamier, slightly sweeter filling
Serving Suggestions
These cookies pair wonderfully with a hot cup of coffee or a warm spiced holiday tea Finely chopped nuts like pecans sprinkled on top of the cream cheese before it sets add a lovely crunch Serve chilled for a refreshing treat or at room temperature for a softer bite
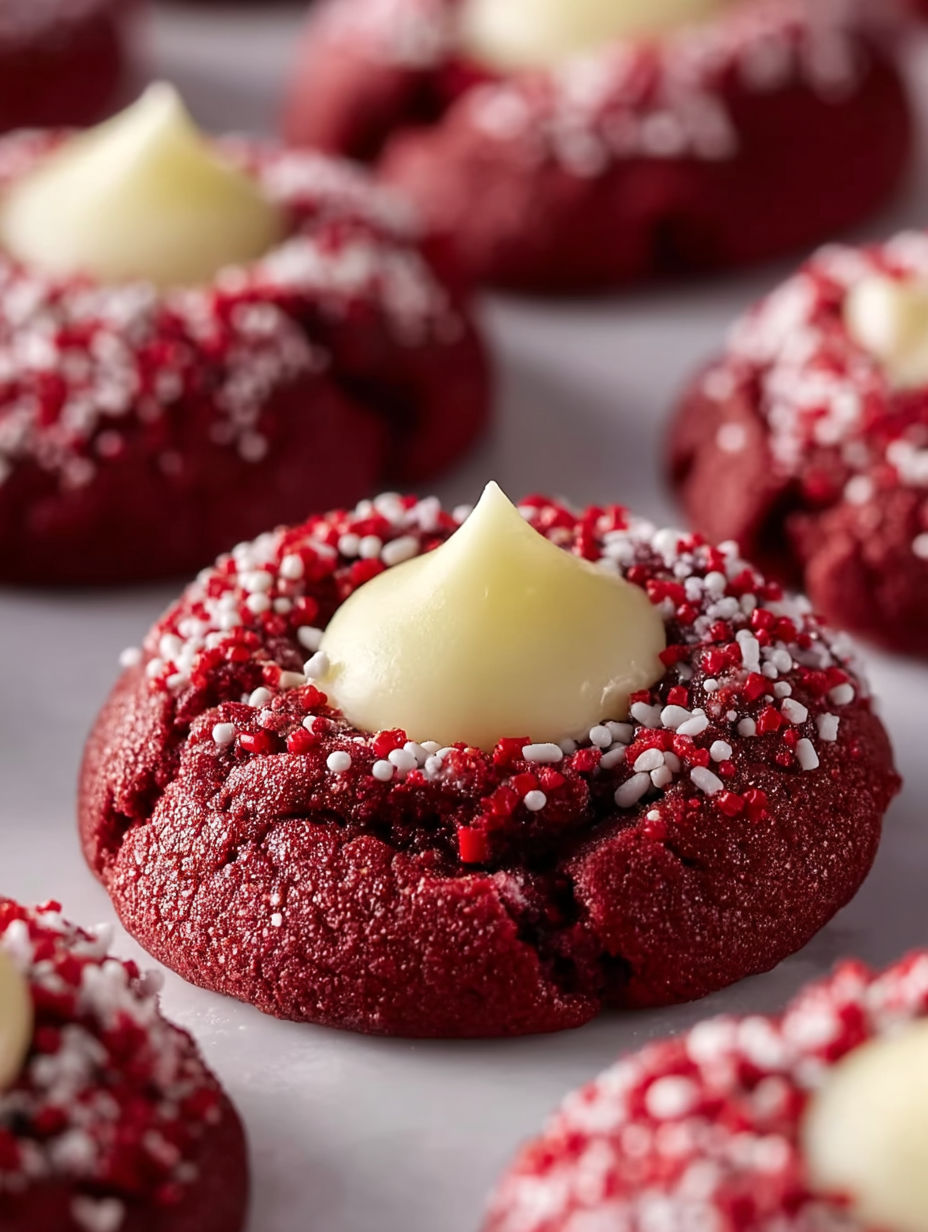
These cookies make a festive addition to any holiday spread. Prepare the dough and filling ahead to save time on the day you plan to serve them.
FAQs About This Recipe
- → What makes these cookies red velvet?
The rich red hue comes from red gel food coloring paired with unsweetened cocoa powder, which adds a subtle chocolate depth.
- → Why is the dough chilled before baking?
Chilling firms up the dough, making it easier to shape and helps the cookies keep their thumbprint indentations during baking.
- → How do you achieve a soft texture in these cookies?
Beating room temperature butter with sugars creates a fluffy base, and careful mixing plus precise baking times ensures tender results.
- → Can the cream cheese filling be substituted?
Yes, mascarpone or sweetened ricotta can replace cream cheese for a different but equally creamy finish.
- → What is the best way to store these cookies?
Keep cookies in an airtight container at room temperature up to three days; refrigerate the filling separately to maintain freshness.
- → Are these cookies suitable for freezing?
Yes, baked cookies freeze well without filling for up to two months. Thaw at room temperature and add filling when ready to serve.