
 Bookmark
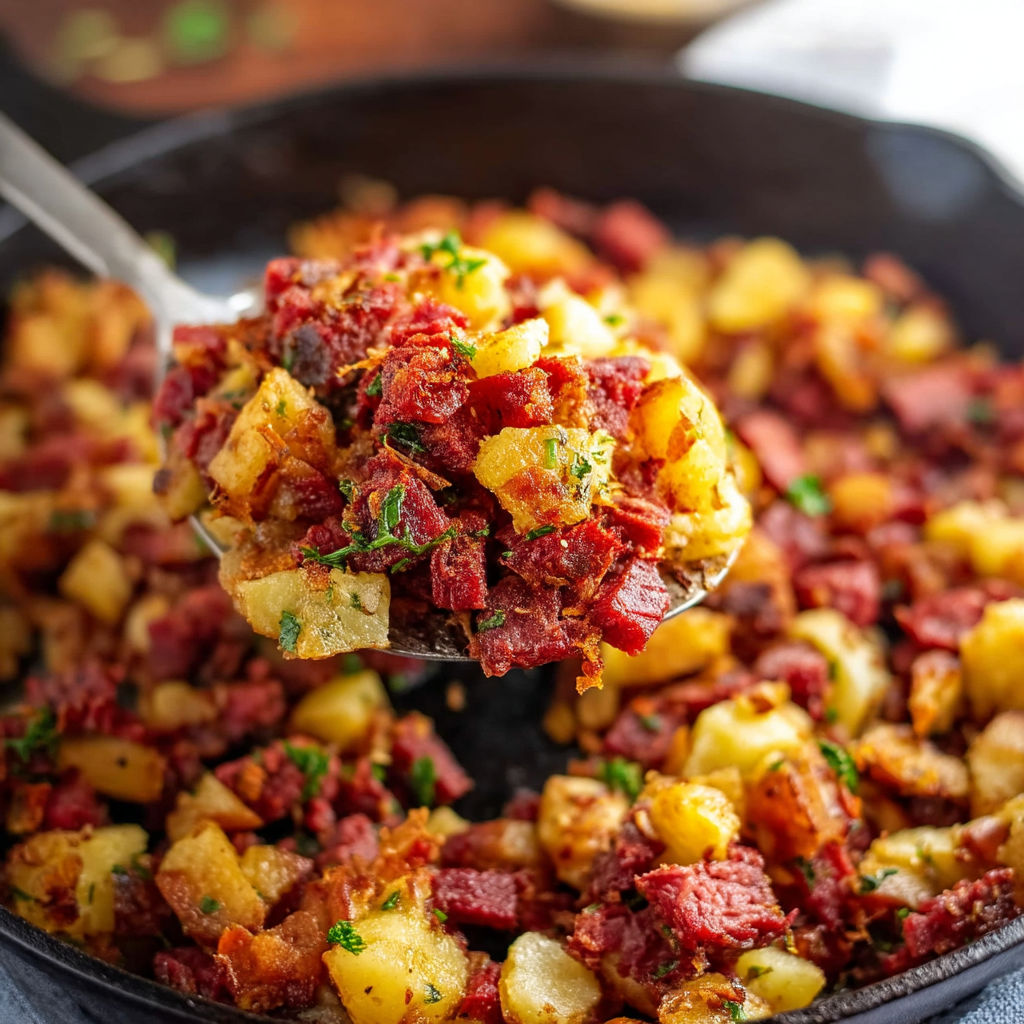
This classic Corned Beef Hash is comfort food at its finest with tender, perfectly browned potatoes and savory corned beef melded together in a crispy, golden crust. It works beautifully for a hearty breakfast or a satisfying dinner when you want something familiar and filling.
I first made this during a chilly weekend when I had leftover corned beef from St. Patrick's Day and it instantly became a family favorite. Now this hash is requested anytime there's beef in the fridge.
Ingredients
- Unsalted butter: important to control the saltiness since corned beef is already salty
- Russet potatoes: hold their shape well and get crispy edges Yukon gold is a good alternative
- Chopped cooked corned beef: leftover or canned works adds the star savory flavor
- Onion: sweet onion adds natural sweetness and soft texture
- Garlic powder and onion powder: keep it simple but flavorful optional Cajun seasoning can add a nice kick
- Kosher salt and black pepper: season to taste but be light with salt
- Parsley for garnish: freshens the dish and adds color
Instructions
- Sauté the Potatoes and Onions:
- Cook peeled and diced russet potatoes boiled until just tender. Melt four tablespoons of butter in a large skillet over medium heat. Add potatoes diced onion kosher salt and black pepper. Stir occasionally and cook for eight to ten minutes until potatoes begin to brown and onions soften and caramelize. This step builds the flavor and texture foundation.
- Add Corned Beef and Seasonings:
- Stir in the chopped corned beef garlic powder and onion powder. Mix everything together thoroughly to combine the flavors. Keep the heat medium so you do not dry out the ingredients.
- Form a Crispy Crust:
- Use the back of a spatula to press the mixture into an even layer in the skillet. Let it cook undisturbed for three to five minutes until a golden crust forms on the bottom. This browning is what creates the hash’s signature flavor and texture.
- Flip and Add Butter:
- Scrape the bottom edge of the pan with the spatula to loosen the crust then flip or fold the hash so the browned side comes on top. Add the remaining butter and stir it in to keep everything moist and rich.
- Repeat to Desired Browning:
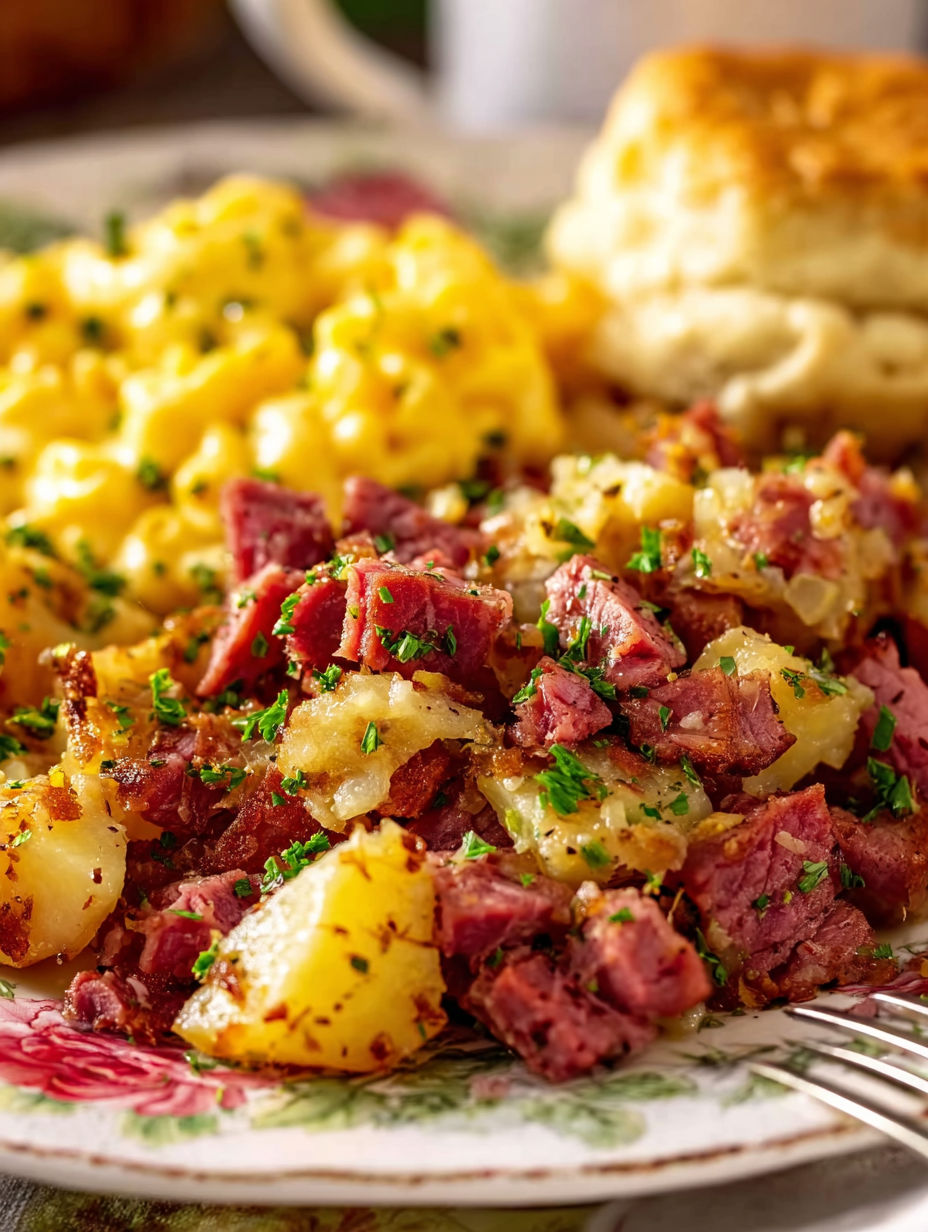
- Press down the hash again in an even layer and let it brown for another three to five minutes. Repeat this pressing and browning step two to three times until your hash is as crispy as you like. Garnish with fresh parsley if desired then serve immediately.

My favorite ingredient has to be the butter which added slowly keeps the hash moist but helps develop that perfect crispy crust. A family memory I cherish is how my kids insist on helping press down the hash in the skillet declaring it the most fun part of cooking.
Storage Tips
Store leftovers in an airtight container in the refrigerator for up to three days or freeze for up to three months. Reheat in a skillet rather than the microwave to keep the crust crispy and fresh tasting.
Ingredient Substitutions
If you cannot find corned beef leftover roast beef or brisket works well. Using cooked diced potatoes from the refrigerated section can save time but be sure to thaw frozen ones fully.
Serving Suggestions
Serve your corned beef hash with fried eggs on top or alongside a simple green salad for a quick meal. A dollop of ketchup or hot sauce adds brightness.
This corned beef hash rewards patience with a deeply savory crust and comforting flavors. It’s perfect for breakfast or a cozy dinner.
FAQs About This Recipe
- → What cut of beef is used for corned beef?
Corned beef typically comes from a cured beef brisket, which gives it its distinctive flavor and color.
- → Can canned corned beef be substituted?
Yes, canned corned beef works well. Use about two cans and avoid adding extra salt as canned versions are already seasoned.
- → Why is butter added in stages during cooking?
Adding butter in parts prevents the pan from drying out and helps achieve an even, golden crust on the hash.
- → What additional ingredients can enhance the dish?
Bell peppers, onions, or a pinch of cayenne pepper can be added for extra flavor and a touch of heat.
- → How should leftovers be stored and reheated?
Store leftovers in an airtight container in the fridge for up to three days or freeze for longer. Reheat in a skillet or microwave until warmed through.